Hello Lamazi Fabric Friends!
I am back today to share my latest Lamazi fabric make with you all. It was inspired by the love of the menswear trend.
Men’s Inspired women’s clothing has been a trend on and off for years now and I had yet to take full advantage of it. I love the mix of masculinity and femininity. When I was preparing for my next Lamazi blog I spotted the Ex-Designer Check Mulberry Cotton Fabric and decided it would be fun to pair it with the uber feminine Nina Lee Bloomsbury Blouse and finally dive into the trend!
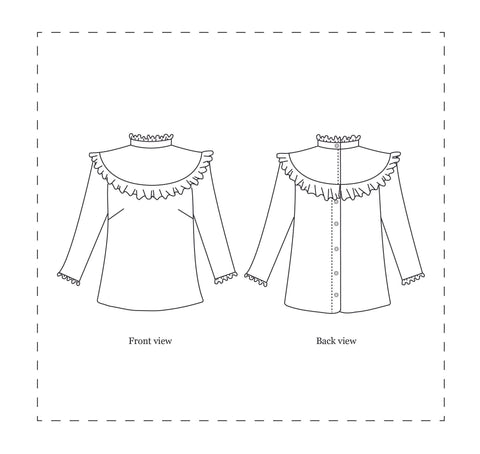
Bit on the fabric and pattern first…The fabric is a lightweight cotton shirting material and it worked well with this blouse style. Min-moderate amount of drape with a bit of structure. I have made this top once before but in rayon. The ruffles drape beautifully in rayon. This cotton did need to be ironed down for the ruffles to lay nicely. The pattern is designed to have sleeves and since cool weather is far off, for where I live, I decided to leave them off and make it sleeveless (more details on that later on).
Fabric used:

Other fabric options from Lamazi that would work great with the Bloomsbury Pattern:
Art Gallery Fabrics romance Novel Picaresque Rayon

Fabric: Rifle Paper Co Birch Floral Enamel Rayon

Fabric: Josephine Black Viscose Crepe

Inspiration:


Details on how I modified the Bloomsbury Blouse:
Really a simple task as I felt the sleeve armscye was not too large so the switch was easy. I used a ½” single fold bias tape method. There are a few methods for attaching bias tape to the armsyce. One method is using a measuring tape to measure the armscye, cutting the bias tape to the correct length and then pinning it on in an enclosed circle. Another method is pinning the bias tape to the blouse armscye, leaving a ½” tail on each end and once it’s almost pinned, sew the bias tape ends closedwith a ½” SA and then finish pinning. The last method would be done only if your blouse side seam is not yet sewn; Pin the bias tape to the armscye in a U-shape. Once sewn then the side seam is sewn closed.
Whichever method you choose you will need to open the top fold of the bias tape, match it with the raw edge of the bodice armsyce, with right sides touching, and pin in place. Sew along the first fold, ¼” SA.
*I am sure there are other methods out there but those are the ones I have done over my years of sewing.
I choose to pin in place, leaving a tail and then sewing the tails together. Once sewn, iron open the SA and finished pinning in place. After sewing on the bias tape, trim SA and cut into the SA without cutting through the stitch lines. Fold the bias tape over to the wrong sides and stitch in place close to the outside bias tape edge. *Be sure to move the ruffle out of the way when topstitching.
Note: It can be helpful to prep your bias tape by ironing it alongthe shape of the armscye prior to pinning and sewing.


Final Look:

My bust measurement puts me in a size 8 and my waist measurement puts me in a size 10 but I choose to make a size 8 overall. The slimmer waist gave it a more tailored, fitted feel. Overall, it fits great but do keep in mind it is a fitted top when choosing your size. Also, the neckband felt a bit snug but plan totake off the button and slide it over to loosen it a bit. *Fit check is your friend!


Thank you for joining me today!!